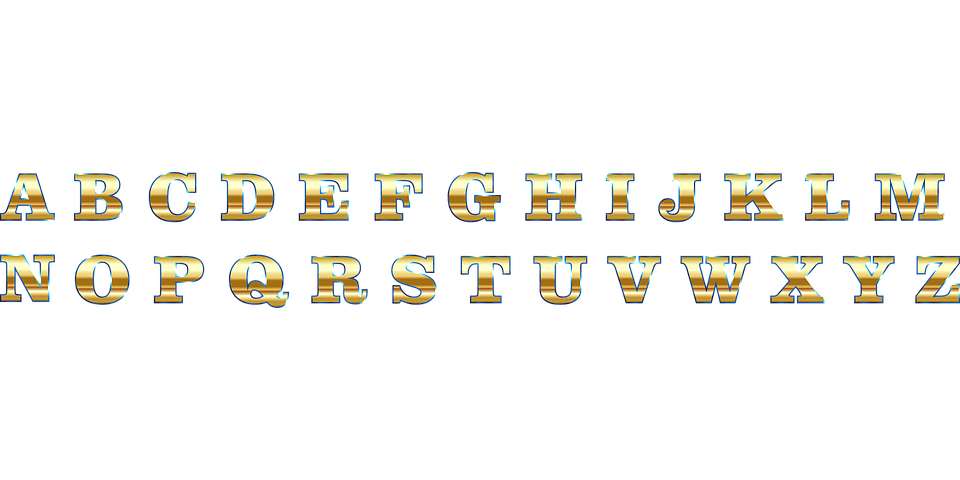
There are so many options when it comes to choosing a font. However, your selection is limited to fonts someone else created, and you might find yourself looking for something more specific. Here are 6 simple steps of how to create your own font.
Creating your own font is time-consuming and expensive, but it’s worth the time and effort you put into its development. It may be made for your own personal use or with the intention of it being used by others.
Get Started With Basic Custom Font Tools
There are available basic tools for creating their own custom font for fun or personal use. These tools are for free and can be a great starting point for beginners who want to learn font creation’s technicalities.
BirdFont
BirdFont has detailed documentation and allows you to create fonts by drawing on a grid or importing images from other programs.
Metaflop
This font-creating tool allows users to customize basic fonts through adjustments in a basic set of parameters.
FontStruct
FontStruct is a tool that uses geometrical shapes to create your font.
PaintFont
PaintFont allows users to turn their handwriting into a font by scanning a template.
Fontifier
Fontifier is an online app that lets users upload a scanned image of their handwriting. The app then turns the handwriting into a TrueType handwritten font that users can use in word processors or graphics programs.
The tools mentioned above are the simpler options for creating fonts. There are also free tools for those who want to learn the more technical method of font creation. If you are among those who are set to create their own unique font with more customizations, here are some steps you have to follow:
Step 1: Create an Outline of your Design Brief
The first step is actually the most vital step in the process. Creating an outline of your objectives from the start is a must in any design project. Will your font be for a specific project, or is it for extensive usage?
Ask yourself specific design questions regarding your font, and once answered, you can move onto the next step of the font creation.
Step 2: Do it first on a paper
It is advised that before going straight to software, early designs should first be done on paper. Without the proper tools, creating shapes for your envisioned font design could be tricky and more time-consuming when done on a computer. It will be easier for you to first do it with a pen and paper. There are a lot of online tutorials that can give you useful tips for creating letters on paper.
Step 3: Install the Software of Your Choice
There are free applications available for intermediate typography designs. Also, make sure to choose one that you are comfortable using with the needed functionality to do the job. Here are some of those:
Glyphr Studio
Glyphr Studio is a web-based tool. It has quite a pleasing design interface and easy to use. With this design tool, you can easily create your own font and ligatures. You can also adjust the kerning and tracking in Glyphr.
FontForge
FontForge is an open-source font editor that can be used on Windows, Mac, and Linux computers. It has a considerable amount of online documentation that can help you through the design process. This program enables you to create and edit TrueType, OpenType, PostScript, SVG, and bitmap fonts and converts fonts from one format to another.
Birdfont
BirdFont is another free tool that has advanced features that can easily satisfy font designers. It enables you to design fonts by drawing on a grid and import images from other programs. BirdFont also has detailed documentation.
There are plenty more of these tools to choose from; it all depends on your preference. Try to use a couple of these tools to see which is the most comfortable for you.
Step 4: Start Creating
After installing your chosen software, you can now start creating your own font. There are different ways to start depending on your software. You can either start from scratch, upload a font file for you to edit, or upload images of your design on paper. Once you are done with the translation of your control characters, you can then include other characters.
In this part, the process can be quite extensive for a beginner, but once you start getting a grasp of how the software works, the process would be speeding up.
Step 5: Refine Your Character Set
When refining your font, you can’t just put all your focus into the individual characters. You should also consider the whole look of your font. Always pay attention to the kerning and spacing of your letters. Also, don’t forget to test each character’s size. You can also try printing your work as it is easier to spot mistakes that are hard to notice.
You are now down to the final step of font creation.
Step 6: Upload Your Font
After finishing your own custom font, you can now upload it so you can start using it. The simplest method of uploading is by using a font plugin. Use Any Font is one of the most popular plugins that font creators use.


